Basic Camera Modes
When I first began shooting, I was under the illusion that if I didn’t shoot in manual mode, it meant I wasn’t a good photographer. So silly, yes but as a beginner, shooting in manual mode seemed like miles away from where I was and what I could technically comprehend. I looked at others thinking they must have radical confidence in their technical ability to flick the dial to M and shoot away without even thinking. As you probably know, I never was formally trained and am entirely self-taught. Shooting in manual mode felt like the “ultimate” pinnacle of mastering your camera. I am the least technical person out there, certainly not into gear or the latest camera gadget or model. Needless to say, learning manual was a learning curve but it wasn’t this grand, intimidating milestone I thought it was. What manual mode essentially allows you to do is to control every aspect of your camera, craft your shot, and override the camera settings. For example, I drive a manual car. While it’s easier to use an automatic, you don’t necessarily have as much control over the car, its power, and its gears as you do with a manual. The car does the work for you. Manual allows the driver to have much more control, especially in certain situations such as a steep descent or incline. Is it necessary? No, it’s not, you can still get to where you want to go either way. But in photography, what it gives you is the creative freedom to capture the effect, feeling, or style you’re looking to create.
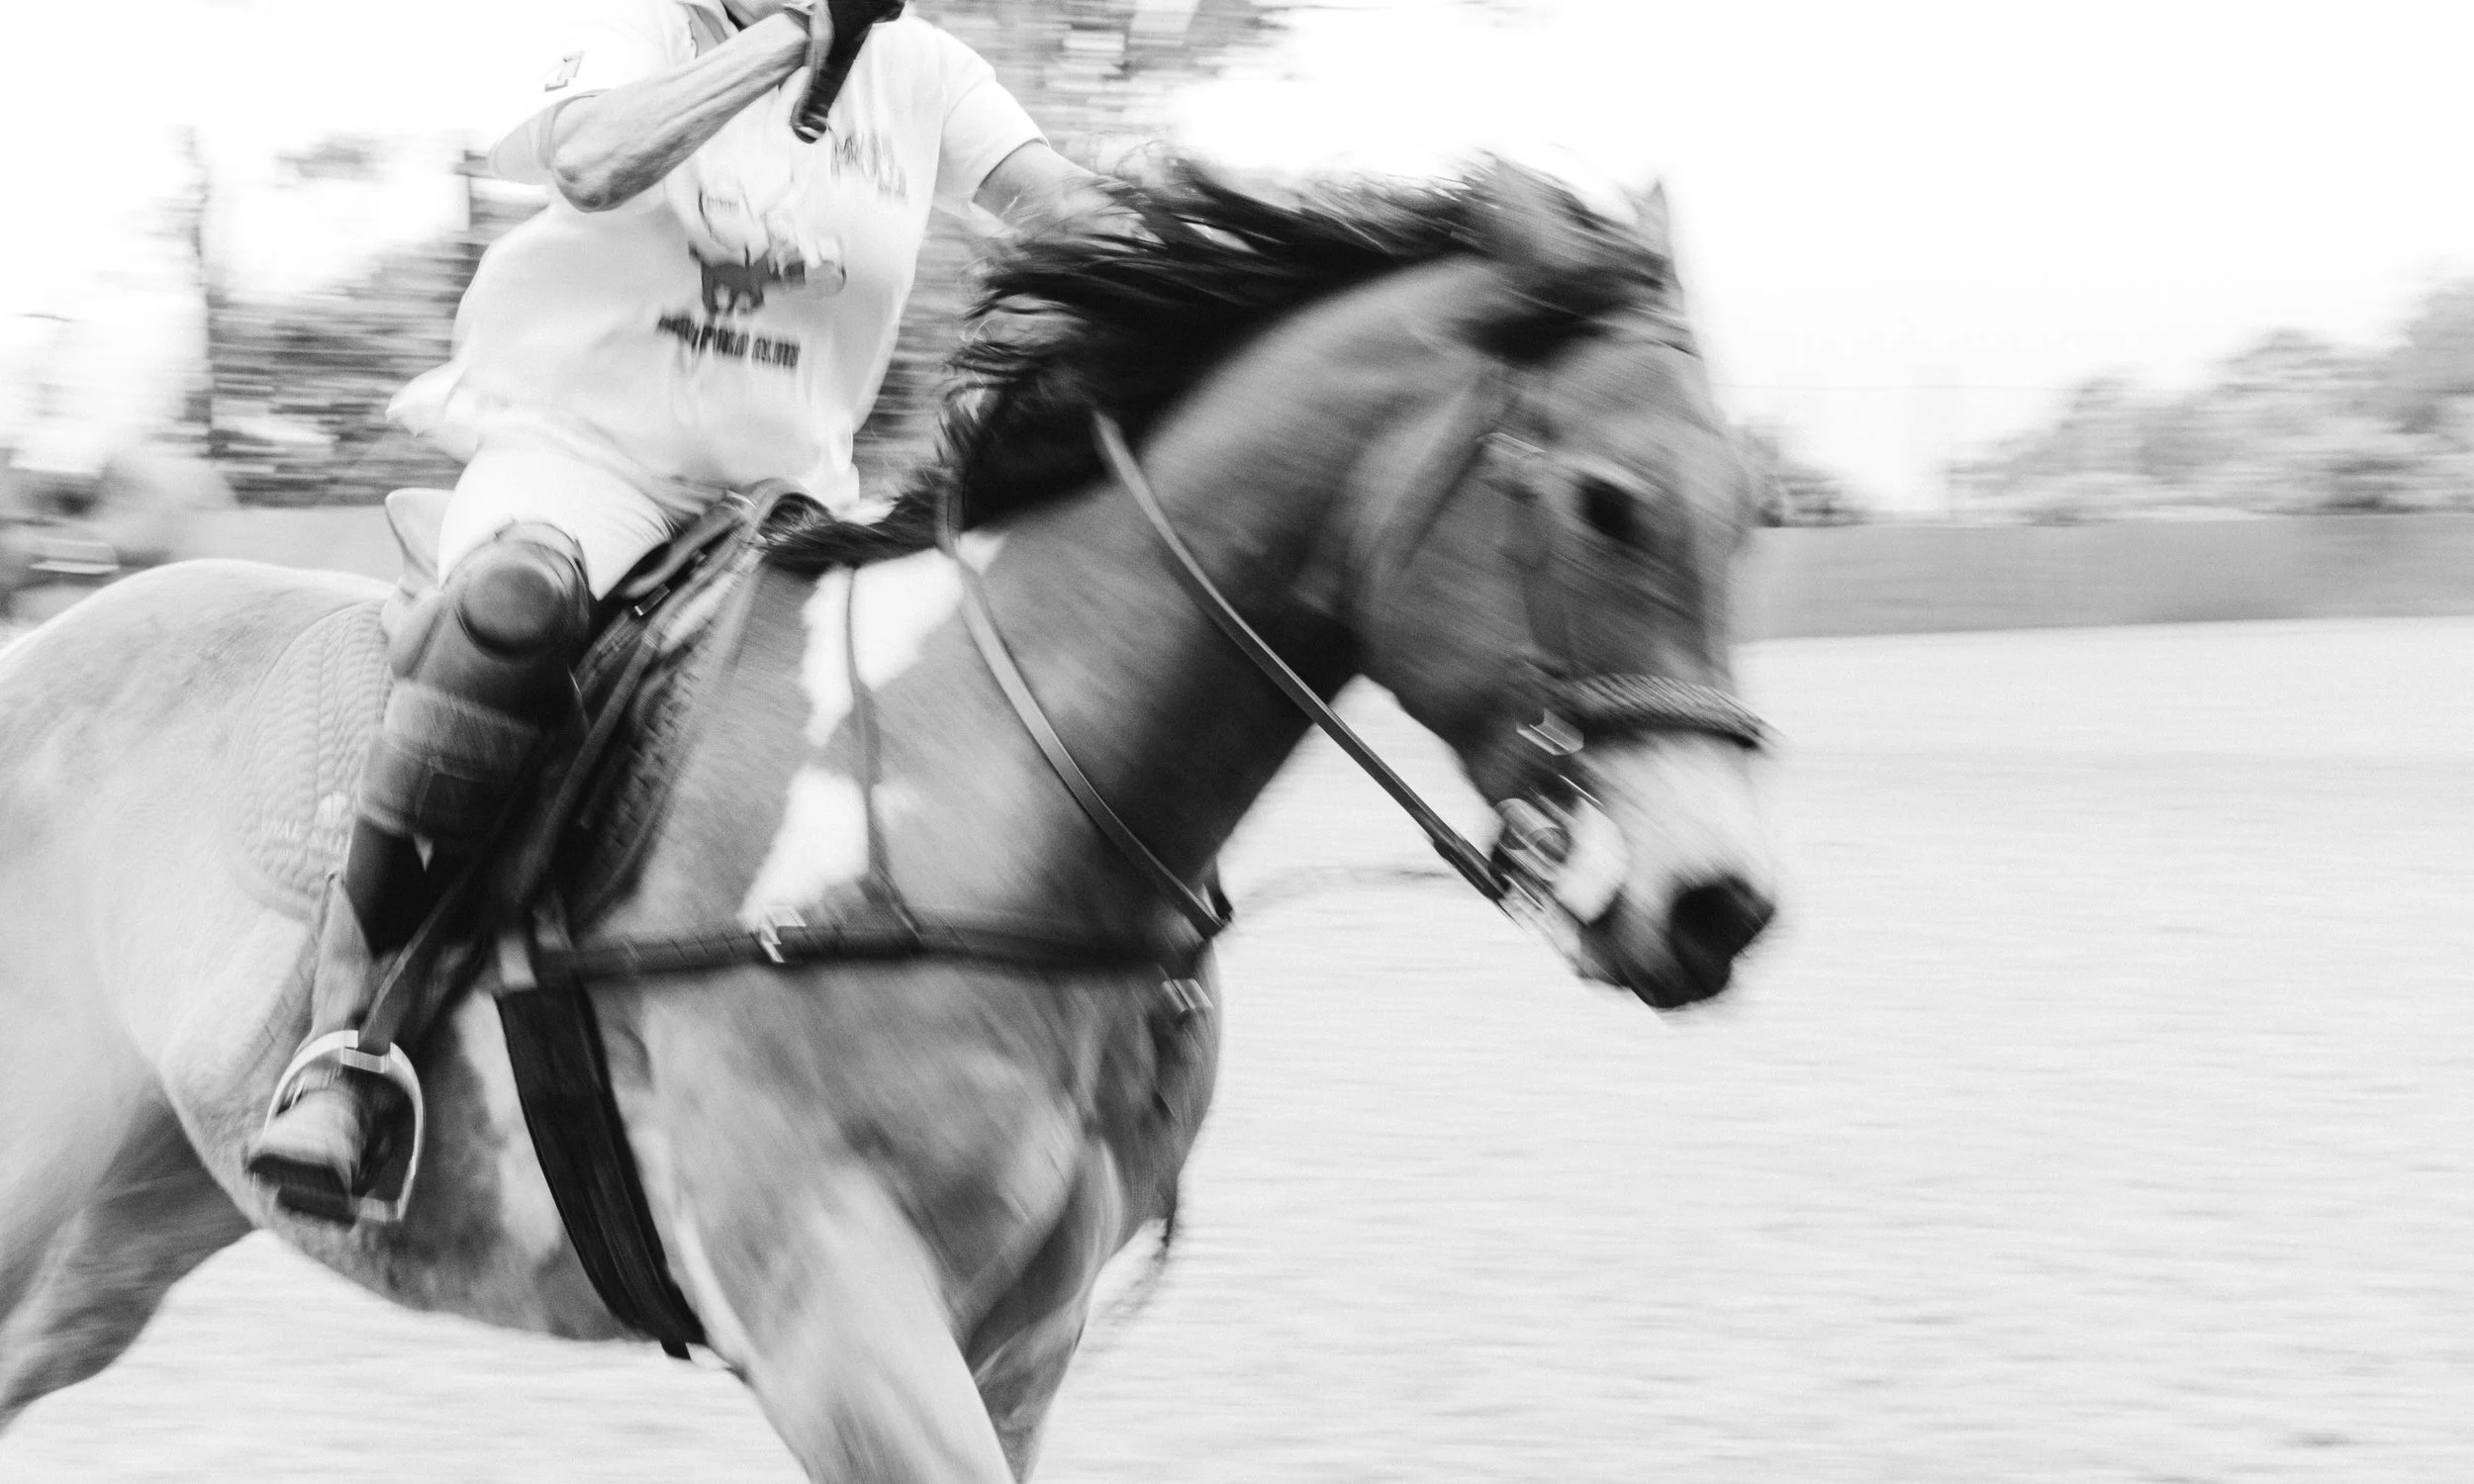
Now let’s go back to shooting only in manual mode. I don’t think you have to exclusively shoot in manual mode to be considered a “professional” photographer because in certain instances it’s actually preferable to have the camera help you and guide you. For example, take fast moving object, it could be a running horse or a cyclist. By the time you actually are trying to set up the shot, flick through your settings, and select the right aperture, ISO, and shutter speed you most likely will have missed the shot. If you know you are going to be shooting subjects that are erratic, fast-moving or simply want a little bit of blur, use TV or shutter priority mode. It’s not cheating; it’s using your camera’s built-in settings to help you get the shot you want. Honestly, I flick between AV (aperture priority) and manual mode for most of my work because I find the depth of field is what crafts the story I want to tell. Aperture priority is especially handy if you are traveling when you don’t want to miss what’s going on around you by constantly looking down at your settings to meter the light, which could be drastically changing wherever you may be, an urban setting or even in the woods. It frees you up to not only be present in the moment but also to enjoy what you’re doing. If you are traveling with a group of friends or family, you may want that freedom to be able to shoot and walk, shoot and walk, without holding anyone up because you’re fiddling with your settings to account for the light change. How many times while traveling with family and you’re fiddling with your camera have you heard “Will you hurry up already?!” Aperture priority is so helpful in scenarios like this where you want to fully enjoy the moment and not be distracted by your camera. I find aperture priority more useful overall compared to shutter priority because generally speaking, we want to stop motion, have crisp images, and control our focus and the depth of field more. I would only switch to shutter priority if capturing motion (blur or freezing an instant) rather than focus on the depth of field if capturing a cyclist or running horse. But again that’s all down to personal preferences and what you’re trying to tell and capture. Otherwise, my main modes of shooting are manual and aperture priority. Even in manual mode, you can set it to auto ISO to further help you out but I find that choosing a general ISO given the relative light situation works in most circumstances. Grain is negligible in unless you shooting way up there like 3200 or 6400. But for everyday, anywhere between 100-400 ISO works just fine and you can adjust the aperture and shutter speed accordingly. Unless you're printing fine art or perhaps for print publication, you don’t need to worry about the amount the grain. If it’s super sunny, stick between 100-250, and if it’s dappled sun with a bit of cloud, 250-400 ISO, and if it’s really overcast 400-800 even is just fine but play with it. I tend to stick with one ISO for the entire day or shoot (usually 300-400), and adjust the other settings to balance the exposure after.
What about Auto mode? Personally, I advise against using Auto mode, even if you are just beginning, because learning the basics of what aperture is, how it alters your shot, or understanding different shutter speeds will drastically improve your photography and your eye. It really takes little to almost no effort to use or understand AV or TV modes and you have so much control just by selecting that dial compared to using Auto.
Why I wanted to share this post was essentially to say that you don’t need to always be shooting in manual mode to be considered a “good” photographer. Being a “good photographer” (whatever that even means) is so much more than mastering the technical aspects of your camera. It’s the ability to see, capture a feeling, a moment, and tell a story. And using aperture and shutter priority when appropriate helps you do just that. Manual mode can hinder you in some instances when simply time isn’t available or you risk missing the shot in focus or entirely. These modes were designed to help you so use them when you need to. Remember, it’s not cheating!
Alanna
x


